Good Morning, Crafty Friends!
Today on Graphic 45's blog, we're featuring some projects made with G45's Mother Goose paper. Miranda has made a beautiful sympathy card and I made the little layout below of my new nephew, Trent! We're giving away a Mother Goose prize pack on the blog, so be sure to comment on G45's blog or Facebook page for your chance to win!


Step 2. Cut Twinkle Little Star paper to 9.5” x 9.5”. Flip your scraps over to reveal blue star side, trim to 9.5”, and apply a fancy edge punch along one of the edges.


Today on Graphic 45's blog, we're featuring some projects made with G45's Mother Goose paper. Miranda has made a beautiful sympathy card and I made the little layout below of my new nephew, Trent! We're giving away a Mother Goose prize pack on the blog, so be sure to comment on G45's blog or Facebook page for your chance to win!

But before I share more photos and instructions about the layout, I also wanted to share some photos from a little make and take class that I taught at The Bee Hive a couple weekends ago! I designed a little 4" x 6" frame with Graphic 45's 12 Days of Christmas line for this class. It was so fun seeing the ladies put their own spin on things!
 |
| The ladies and their creations! |
 |
| My project: a 12 Days of Christmas frame! |
 |
| The ladies are busy as bees! |
 |
| I love how unique each person's frame turned out! |
 |
| Lovely layers and sparkle! |
 |
| Showing off her frame! (Thank you again for helping me find my way!!) |
 |
| Beverly and all her crafty goodness! |
 |
| Crafty friends! |
 |
| I love the jingle bells she added to the upper corner! |
 |
| And this lady - love her! Lisa's gorgeous Graphic 45 projects launched my G45 love affair! |
Well, thank you so much for letting me share those photos! It was a fun day and I found some yummy goodies at The Bee Hive that I've used for a couple of my upcoming projects. Stay tuned for those! But for now, I'll share my Mother Goose layout tutorial. It's quite simple and of course, you can change up the papers and embellishments to your liking!


12” x 12” Mother Goose Nursery Rhymes
12” x 12” Mother Goose A Pocketful of Posies
12” x 12” Mother Goose Twinkle Little Star
12” x 12” Mother Goose Storytime
12” x 12” Mother Goose Little Boy Blue
12” x 12” Mother Goose Humpty Dumpty
Mother Goose Flowers
Mother Goose Banners
Mother Goose Chipboard die-cuts 2
Yellow Stickles
5" x 7" photo of the cutest baby you know
Instructions
Step 1. Cut
A Pocketful of Posies paper to 10.75” x 10.75”. Flip your scraps over to reveal
blue floral side, trim to 10.75”, and apply a fancy edge punch along one of the
edges.

Step 2. Cut Twinkle Little Star paper to 9.5” x 9.5”. Flip your scraps over to reveal blue star side, trim to 9.5”, and apply a fancy edge punch along one of the edges.

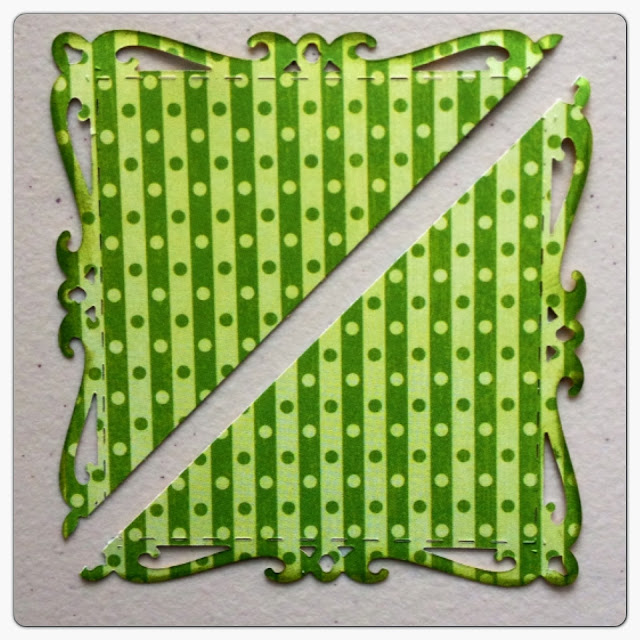
Step 3. Take
Humpty Dumpty paper and trim off a 4.5” square. Apply a fancy square die, like
Spellbinders Captivating Squares. Cut in half.

Step 4. Adhere
the halves of your green square to the lower left and upper right corners of
your Nursery Rhyme paper. Then adhere the yellow Pocketful of Posies paper.
Adhere blue borders, then white Twinkle Little Star paper.

Step 5. Take
Storytime paper and cut out Little Boy Blue image. Turn paper over and fussy
cut 5 large green flowers. Take Little Boy Blue paper and cut out photo mats
with red star border.

Step 6.
Adhere Little Boy Blue image and photo mats per photo. Add a 5” x 7” photo of
your choice. (Preferably one involving a cute baby and pacifier!)

Step 7. From
your Mother Goose flowers and banners, assemble a big red plaid flower, big
blue flower, and small red flower. Then, locate the following Mother Goose
banner pieces and chipboard 2 pieces.

Step 8. Add
embellishments to your layout per photo. Then, take
letters from your Mother Goose alphabet sticker sheet to create the words
“BINKY time”. Optional: apply yellow Stickles to flower centers.

6 comments:
This is really cute! I loved your photos from the class.
Too cute!!!
Just precious! What a wonderful layout :)
What great pics, looks like you all had fun.
Paula
This layout is adorable, Maria! Your sweet nephew is so cute. Looks like you had a fabulous class, too.
Beautiful layout!! Great pictures of your class!! Hugs!
Ohh Maria! So cool that you taught a class again! And what a gorgeous layout! He is so sweet! You must be a proud aunt! Hugs, Sandra
Post a Comment