Gooooood Morning, crafty friends!
I am so excited to have my first
Graphic 45 Design Team project featured on the
G45 blog! So often when there's a holiday, like Father's Day, many of us end up having to make more than one craft. If you have more than one man you'd like to honor this Father's Day, this tutorial is for you!
As a fun challenge, I thought I'd use A Ladies' Diary paper. Sometimes we don't have the exact paper we want to create meaningful gifts, but that shouldn't stop us from trying! I tried to tone down the feminine elements of this paper, but my inner flower-child came out and stuck on some mini Prima roses. ;)
So the front of the envelopes (which come from Graphic 45's fabulous black policy envelope album) have a flap that opens up to reveal a large area for writing and tucking away things like photos, tickets, or even some money!
As for the inside of the envelopes, I left them blank so that Dad can fill them with special mementos from Father's Day.
Graphic 45 A Ladies' Diary - Father's Day Card Trio from Maria on Vimeo.
Without further ado, here's how you can make your own Father's Day Envelope Cards!
~Supply List~
Graphic 45 Paper:
A Ladies
Diary Ageless Beauty
A Ladies
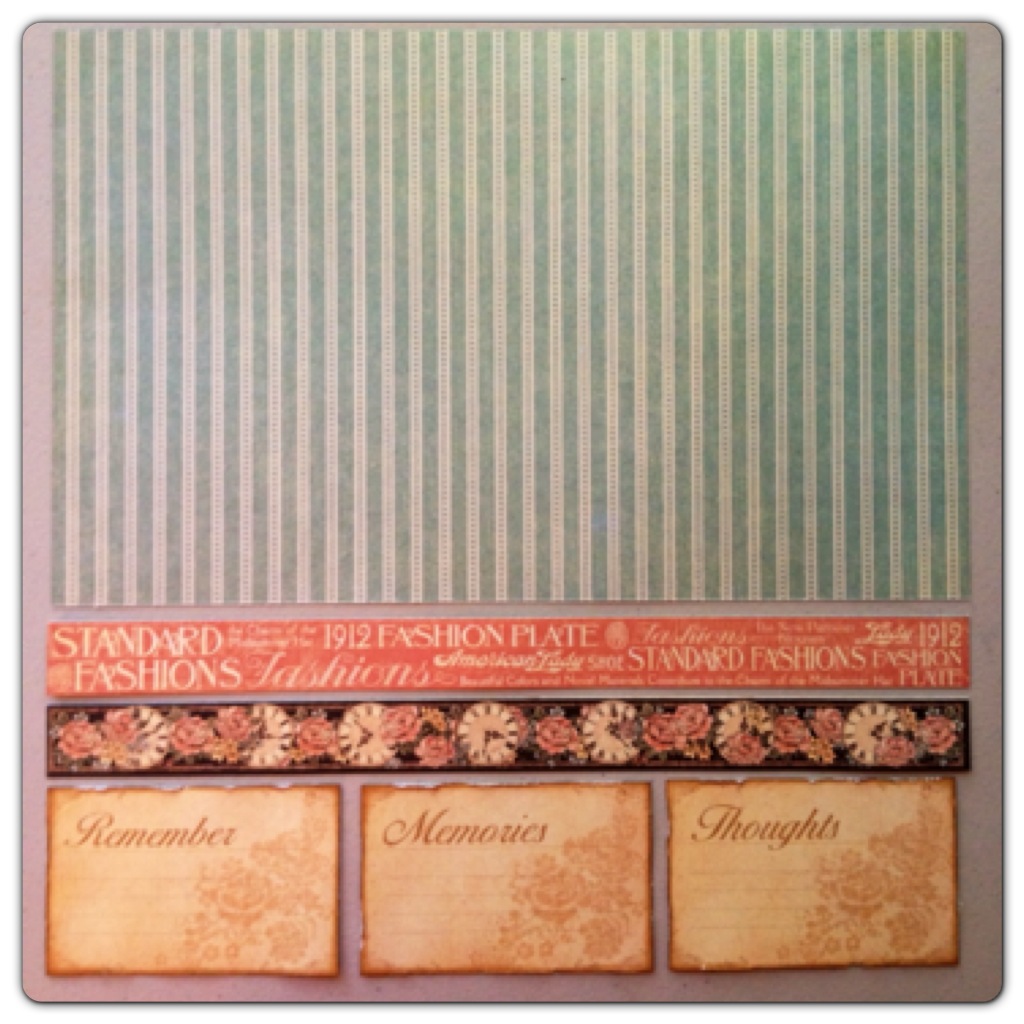
Diary Fashion Plate
A Ladies
Diary Lasting Impression
A Ladies
Diary Moment In Time
A Ladies
Diary Timeless Memoir
Graphic 45 Embellishments:
Black
Envelope Policy Album
A Ladies
Diary Alphabet Stickers
A Ladies
Diary Chipboard Die-cuts 2
Ornate Metal
Label Holder Staples
Ornate Locks
Staples
Ornate Keys
Staples
Additional Products:
May Arts
sheer gold ribbon (6) 1 foot long pieces
May Arts
black plaid ribbon (3) 1 foot long pieces
Imaginarium
Designs chipboard pieces
6 tiny metal
brads
Prima mini roses
Corner punch of your choice
Ranger Distress Crackle Paint in Clear Rock Candy
~Instructions~
Overall note: Ink and distress edges of
all papers that you cut and fussy cut with Vintage Photo Distress Ink and a
paper distresser before adhering.
Step 1: Remove (3) envelopes from your
black policy envelope album.
Step 2: Take Timeless Memoir paper, tan
side up, and cut (3) 3 7/8” wide x 12” tall pieces. With each piece, score 3”
at the bottom and fold. You will use one piece per envelope.
Step 3: Adhere the 9” tall section of
the Timeless Memoir pieces to the front of the envelopes. (The front of your
envelopes have the envelope flaps on top.) Adhere the
3” tall sections to the back of the envelope.
Step 4: Take Fashion Plate paper, black
side up, and cut (3) 3.75” wide x 12” tall strips. Trim each of these to 3.75”
wide x 8.75” tall, but save your 3.75” wide x 3.25” tall pieces for Step 7.
Step 5: Take 3.75” wide x 8.75” tall
Fashion Plate paper and score .75” from the top and fold. Adhere just the
scored section to the front of each envelope to create a flap.
Step 6a: Take Lasting Impression paper,
border side up, and trim off the bottom (3) patterns: the journal images,
clocks, and pink fashion plate. Cut out each journal image; you will use one
per envelope. Take clock border and cut (3) 3.75” long strips. Take pink fashion
plate border and cut (3) 3 7/8” long strips. Save the pink fashion plate strips
for Step 15.
Step 6b: Take your remaining Lasting
Impression paper and flip over to reveal blue side. Cut (3) 3.75” wide x 7.5”
tall pieces. Then, trim each piece to 3.75” wide x 6” tall but save your 3.75”
wide x 1.5” tall scraps for Step 11.
Step 7: Locate your 3.75” x 3.25”
Fashion Plate pieces from Step 4. Turn pieces so they are 3.25” x 3.75”. Use a
fancy corner punch (I used Martha Stewart’s Deco Shell punch) on each corner.
Step 8a: Locate your Moments In Time
paper. Fussy cut (6) bunches of flowers, (3) medium clocks, and (3) large
clocks from the edges of your paper. Set aside the medium clocks for Step x10.
Step 8b: Locate your Ageless Beauty
paper and cut out the (3) photo mats that have men in them along with the photo
mat of the car. Fussy cut (3) stamps.
Step 9: Open up each flap. Adhere 3.75”
x 6” Lasting Impression, journal image, stamp, and large clock to upper half.
Adhere 3.25” x 3.75” Fashion Plate pieces and fussy cut flowers to lower half. Optional:
Use Ladies’ Diary Alphabet Stickers to spell “for you” on each.
Step 10: Locate your fussy cut
medium-sized clocks from Step 10. For a crackled effect, apply some Distress
Crackle Paint in Clear Rock Candy to each. Dry completely before using.
Step 11: Optional: Take some fancy
chipboard embellishments, such as these corner edges and medallions from
Imaginarium Designs, and apply some brown ink. Set aside.
Step 12: Locate your 3.75” x 1.5”
Lasting Impression pieces from Step 6b. Make sure the blue side is face up,
then use your alphabet stickers to spell “Dad” or “Papa” in the center of the
piece. (Note: These particular letters from Ladies’ Diary can only fit 5
characters or less.) Adhere Ornate Metal Label Holder over stickers; punch
holes and insert brads. Also punch holes in the lower left and right corners
and insert tiny metal brads. Adhere to the bottom of the front flap to create
nameplates.
 |
| "Lolo" means "Grandpa" in Filipino! ;) |
Step 13: Locate 3.75” wide clock border
pieces and adhere above nameplates. Then, arrange Ageless Beauty images,
chipboard embellishments, Ladies’ Diary chipboard die cuts, mini roses, fussy
cut flowers, and medium-sized clock per photo.
Step 14: Take black plaid ribbon, fold
in half, then fold in half again. Take a Metal Brad and pierce through ribbon
and insert into envelope flap hole. Take 1 foot of gold ribbon, tie an Ornate
Metal Key in the center, then tie around Metal Brad. Place a letter sticker
under the envelope flap to hide the brad arms.
Step 15: Take your Lasting Impression 3
7/8” strips from Step 6a and adhere to the back of your envelopes, blue side
up. Take 1 foot of gold ribbon and tie around the inside of the envelope,
making a bow on the side. Take a large monogram sticker and attach with foam
dots to the back.
Step 16: Insert some movie tickets or
other fun things underneath the gold ribbon. Or, tuck a menu from his favorite
restaurant inside the envelope. Then, give him a big hug and tell him “Happy
Father’s Day” and how much you love him!