Showing posts with label organization. Show all posts

Tuesday, February 7, 2012

Tropical Travelogue Valise & Passport

Hi!

Here's a Graphic 45 project that I put together today, using G45's Tropical Travelogue collection. Since there are so many gorgeous colors and patterns in this paper line, I thought I would focus this project on some of the pretty black and cream papers first. [BTW: I apologize for the dark/harsh lighting in these photos -- still working out the kinks in my new craft room.]


Tropical Travelogue is all about escaping to a warm, exotic place - so I thought it'd be fun to pack up my imaginary bags and passport and create this vintage travel set!


My valise was one of two wooden purses that I picked up from Creative Crafts in Corvallis, Oregon. I had painted it white several months ago in hopes of using it for a dear friend's nursery. Well, I felt the paint smell, while faint, wouldn't be good for her new baby - so I scrapped it and used the second, unfinished purse for my baby project. Ever since, I've had this white wooden purse hanging out in my craft room - until now. 

To create my valise, I first inked all the painted surfaces with Tim Holtz's Distress Ink. I then covered the front and back with Jungle Fever. I used three strips from Tiki Voyager to create a border and two accent pieces. The thin cream-colored strips are scraps from Tim Holtz's Vintage Lace die. The gorgeous cream-colored flower strip is from Petaloo. (I was so inspired by the Graphic 45 and Petaloo blog swap back in December, I just had to pick up as many different kinds of Petaloo flowers as I could!) I then attached a Bo Bunny trinket and a piece of Exotic Destination paper with an Idea-ology mini ball and chain set.


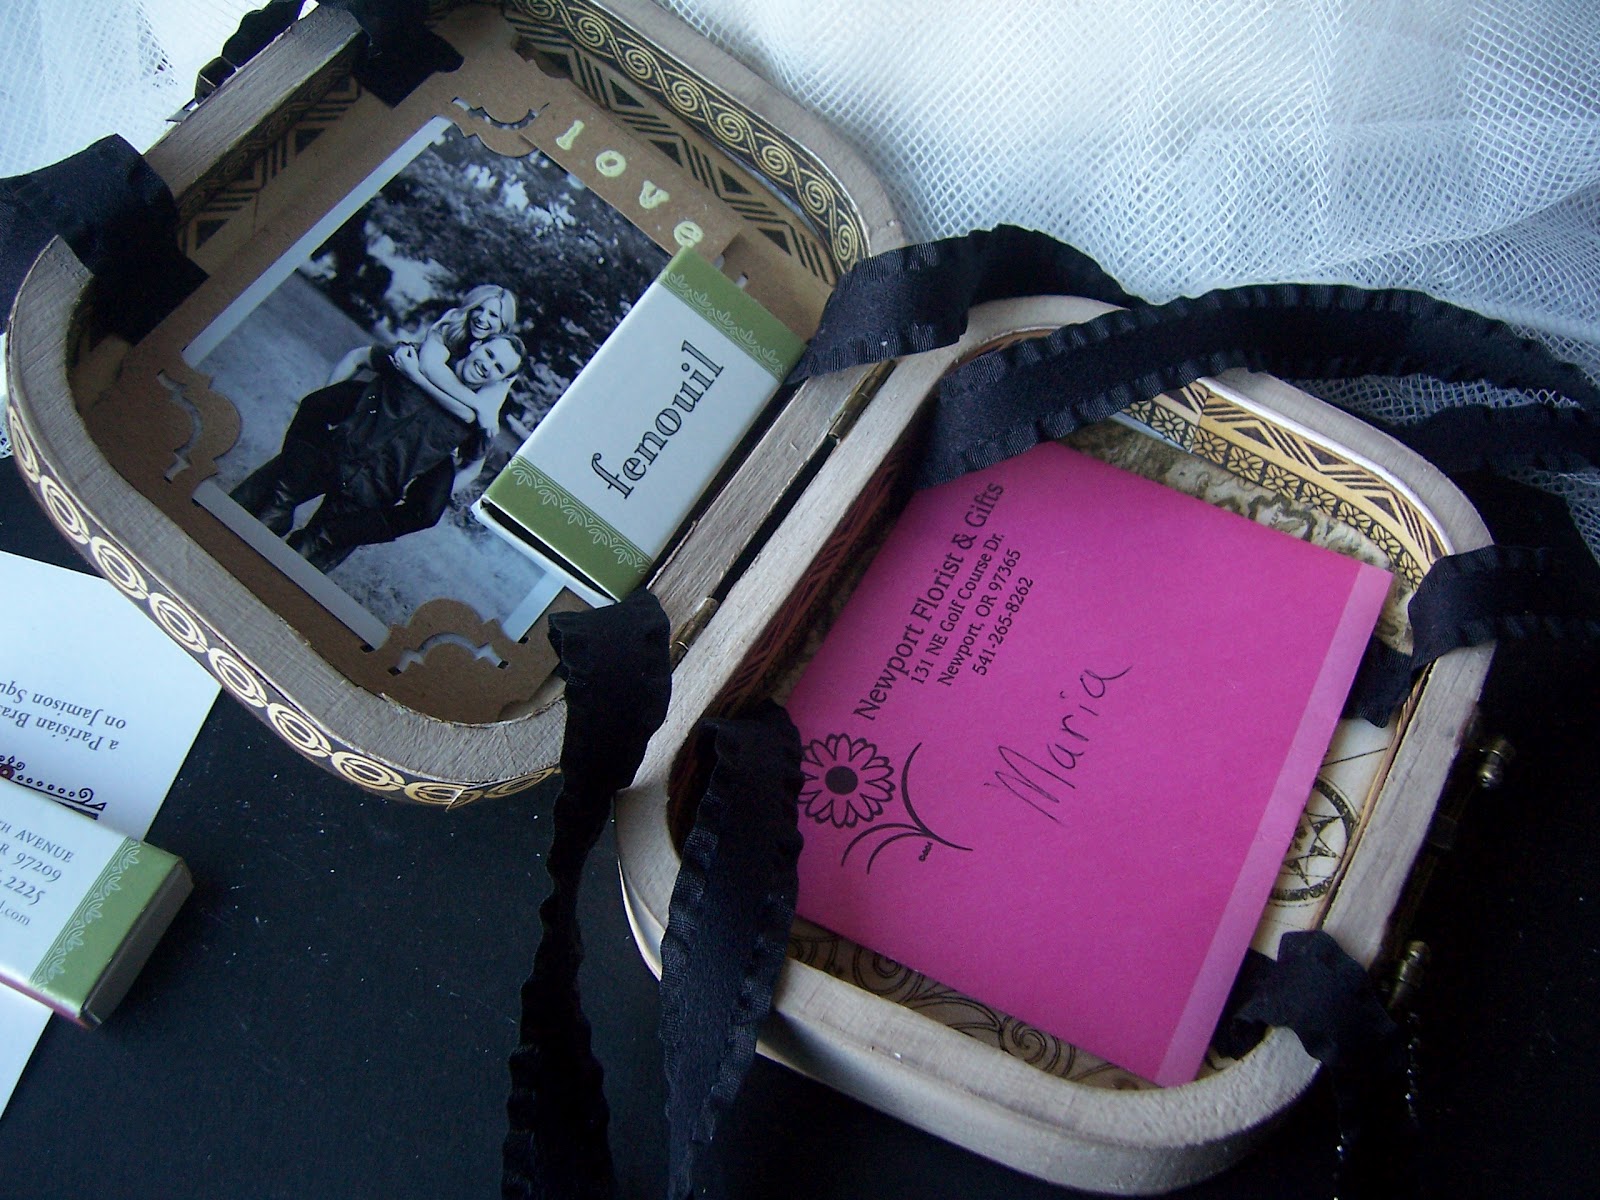
What's fun about this project is the inside ... I designed the interior to behave as a little suitcase, so you can store little trinkets and memorabilia inside, such as my Tropical Travelogue Passport. To create this little book, I used images from Exotic Destination along with some sand-colored mesh ribbon, one of many neat blog candy prizes I won from Gloria Stengel.


For the inside, I glued a couple strips of Tiki Voyager to the edges. I then cut two pieces of Jungle Fever paper and glued both pieces inside. My suitcase straps come from some black ribbon that I also won from Gloria's blog. I glued four pieces over the Jungle Fever paper. 


Lucky for me, I had just enough black ribbon so that each one could be tied with a bow!


Hmm ... I see it stores my Tropical Travelogue passport just fine ... but can it hold some other stuff? How about some matches, an envelope, and a wedding invite? Not sure if the wad of mesh ribbon will fit ... 


I think there's definitely room for the ribbon - and some more matches, some scripture pocketcards, and my passport:


Everything fits!


There you have it, an exotic little valise to store some of your favorite island memories, and a passport to match. Thank you for looking!


Supplies:

Graphic 45 - Tropical Travelogue paper
Petaloo flowers
Tim Holtz Idea-ology ball & chain
Bo Bunny trinket
Distress Ink

Thursday, January 5, 2012

January 2012 Girlie Grunge Challenge

I love the details for this month's Girlie Grunge challenge by Donna Salazar:

*White and blue
*Ribbon
*Bling
*Any DS product

I started my project by using a 4-way memory frame from Plaid; a neat wooden box that I originally bought for another project. Well ... it turns out I get to use my memory frame for my other idea, as I opted to make some altered bottles for the challenge instead! 

Lately, I've been inspired by all these gorgeous altered bottles that I've found by pouring through some of my favorite blogs ... like this one from Norwegian crafter Ingvild Bolme ... and these purple and green bottles by the talented Michele Kovack. I love papercrafting but I also love breaking away from a paper canvas once in a while, and now that I'm stocked with some alcohol inks from Paper Mermaids, I'm excited to experiment with glass! 

With that said, here is my entry for the January 2011 Girlie Grunge challenge: 


I thought this funky, eclectic set of jars would be a fun and colorful way to house some of my supplies. Being the New Year and everything, I always go through some sort of organizational change, so this is how I'm ringing in 2012! 

The small and medium jars once housed jam. The large mason jar used to contain some Trader Joe Vodka Marinara sauce up until Tuesday night. :) 


The vibrant aqua color on all three jars was achieved with blue- and salmon-colored alcohol inks. If you want to make your own, just apply some alcohol ink to your applicator and blot your jars until you like what you see! I applied some Rock Candy to each jar for some added texture. 


For my small jar, I tied a piece of white ribbon around the neck of the jar and fringed the edges with my fingers. I attached a Tim Holtz word stick with a ball and chain set, then added a flower I created using my Rose Creations die. A couple leaves from the die set were tucked underneath the flower.


My medium-sized jar has a grungepaper element in the middle with white distress stain. The beautiful chain around the neck was a recent find while I was out of town. This flower was also created with my Rose Creations die and spritzed with Tattered Angels glimmer mist. I added more of my fringed-up white ribbon behind the flower. The chunky cardboard tag was distressed using my Distrezz-It-All and attached via twine. I applied some blue rhinestones and another Donna flower that I created.


The last jar is the funkiest of them all! First, I took a wide strip of lace ribbon, misted it with an aquamarine color, then glued it together to create the base of my flower. I performed Donna's heat gun technique to my lace flower by heating the edges of the flower. Then, I cut some off-white cardstock using her Rose Creations die. I inked, stamped, and embossed each petal and spritzed with more Glimmer Mist. I glued my paper flower onto the lace flower, then attached the entire piece to some cardboard packaging that I salvaged from a scone mix box. I used my Distrezz-It-All to distress the edges of the cardboard, then glued the piece onto the front of the jar.


I cut out some words from some K&Company stickers I got last week then fit them into some Tim Holtz mini platez. I looped some ball and chain pieces through each to create a necklace effect around the neck of the jar. To top it off, I tied some twine around the jar, and added some old beads.


My Marvy markers, long die cuts, feathers, and mini misters now have a home. And ... I think I'm officially addicted to alcohol inks and glass bottles now! We have a couple antique stores here in Newport, so I know what I'll be doing on my day off! ;) Thank you for looking and have a great week!


Supplies: 

Alcohol Inks 
Donna Salazar Rose Creations die
Zutter Distrezz-It-All
Rock Candy
Distress Ink
Distress Stain
Tim Holtz Idea-ology Ball & Chain and Mini Platez

Sunday, September 18, 2011

Recycled Storage Container

Lately I've been obsessed with all this recycled stuff lying around -- empty aluminum cans that once held pumpkin pie mix, glass spaghetti sauce jars, and even plastic spice bottles. (Here's an example of what you can do with a finished toilet paper roll!) There is soooo much potential with these items and while I'd love to give most of them to the recycling people, I'm keeping a few of them for some fun storage ideas.

After making a batch of pumpkin bars last week, I decided to salvage the aluminum can that they pumpkin mix came in. Its size seemed perfect to store all the larger die cuts that I have lying around with no home. So I removed the label and washed the entire can, then wrapped a piece of twine around it. I attached a tag and a paper button to properly label this new must-have for my craft area.