Showing posts with label Halloween. Show all posts

Wednesday, October 29, 2014

Another last-minute Halloween tutorial

Good Morning!

I have another quick and fun little Halloween project for you. Actually, it doesn't have to be for Halloween - you can totally change out papers and embellishments to taylor it for any holiday.

This is an altered medicine bottle I made using Graphic 45's beautiful washi tape set and An Eerie Tale paper line!


If you like the little spool in the first photo, I have a tutorial for that as well. :) Thanks so much for looking!


Check out How to Make an Altered Medicine Bottle With Washi Tape by Maria Cole on Snapguide.

Friday, October 24, 2014

Upcycled Halloween ribbon spool

Hey there, crafty friends!

Long time no see! So much has happened since my last blog post. I knew back then that life would be even more unpredictable, so I had to put papercrafting aside. Lately, things have started to stabilize again, and my inner designer has been itching to play with pretty paper!

There are some fun things I'll post about soon, including a recent trip to Monroe, Washington to meet the amazing Teresa Collins, along with the most fabulous birthday gift I've ever received. ;)

But first, because this is time-sensitive, a little Halloween tutorial for all you Graphic 45 lovers!


I've been in love with Graphic 45's An Eerie Tale paper collection from the start. It's a beautiful, classic way to do Halloween and the line reminds me a lot of Happy Haunting. So naturally I had a few projects up my sleeve for it, including this easy upcycled Halloween ribbon spool! 


Here's the Snapguide tutorial I made for this ribbon spool. As with any tutorial, you're free to change up the papers you use - even the flowers and Stickles, too! I hope you enjoy. Stay tuned for more! 


Check out How to Make an Altered Halloween Ribbon Spool by Maria Cole on Snapguide.

Wednesday, October 2, 2013

Steampunk Spells Tag Graveyard

Good Morning!

If you love Halloween, and just October in general, you will love today's blog post at Graphic 45! My fun little project below is featured, along with my fellow DT team member Anne Rostad and her fantastic mini album tutorial.

The amazing chipboard pieces in my project are from Gina's Designs. The gothic design goes perfectly with Halloween, and so does Graphic 45's Steampunk Spells collection! I also used some Petaloo flowers and even one of Tim's Halloween adornments.


The chipboard gears are from Gina's Designs, too! My "crosses" are Graphic 45 metal keyholes turned upside down.


That is all, ladies and gents! Thanks so much for stopping by!

Saturday, June 30, 2012

Graphic 45 Happy Haunting Class 7/12

**Update as of July 9th** Sadly, my class is full and kits are sold out. So sorry! But please stay tuned for another Graphic 45 class that I'm teaching on July 26th. Thank you!

Hi there!

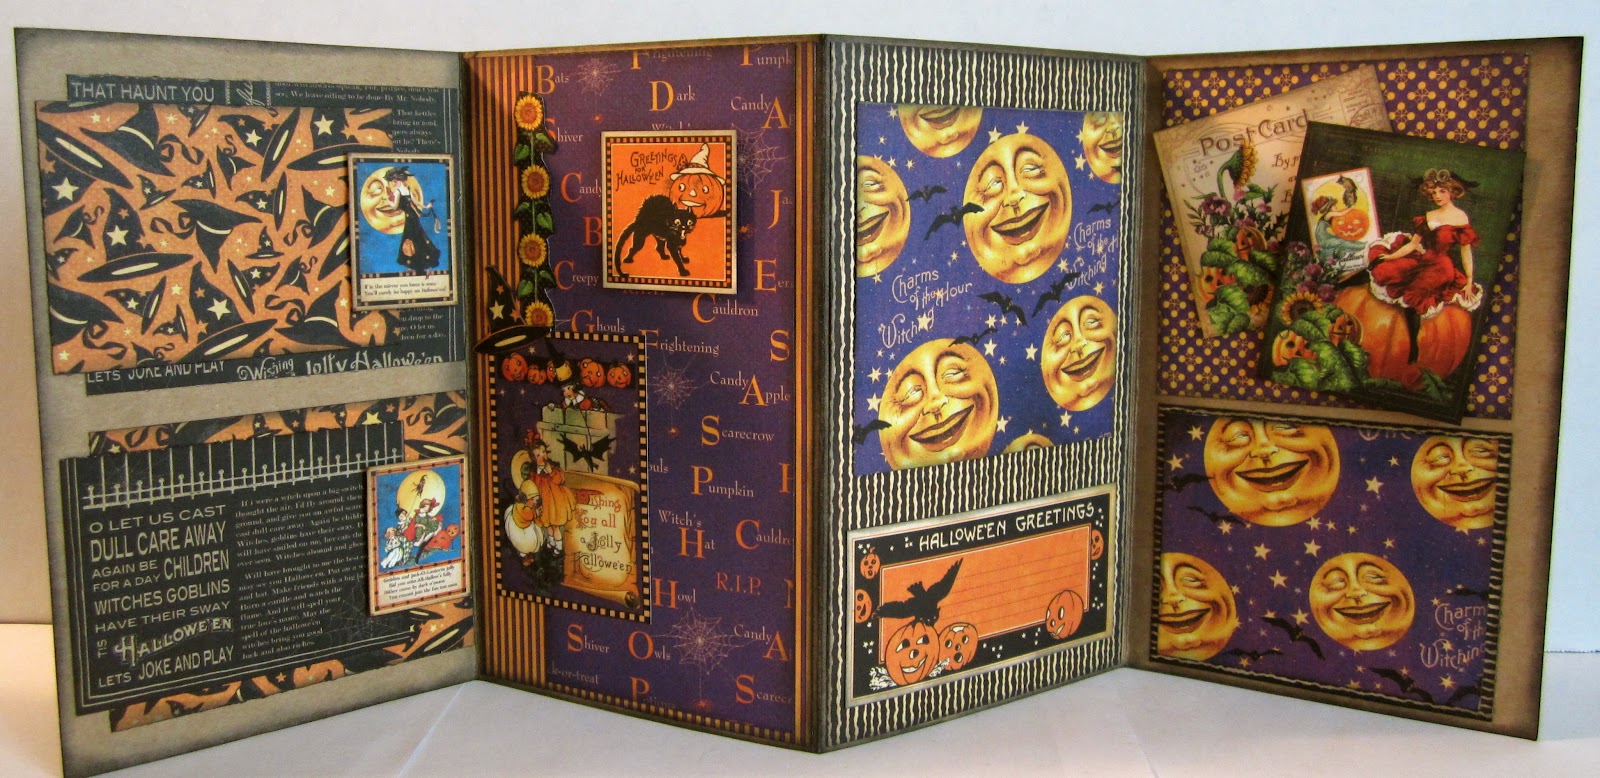
I wanted to share my latest Mad Scrapper project with you. This is a Graphic 45 kraftboard box that I altered using G45's Happy Haunting line. :) Inside is an accordion-style mini album that folds out to reveal 8 different pages. I've always wanted to play with one of these boxes, so I'm stoked that I get to teach a class with one of them!


On top of the box is a funky 3D flower I made using my scraps. 


Here's what the box looks like when you open it up:


The mini album:


Thanks for looking!

Monday, October 31, 2011

Trick or Treat!

Happy Halloween! Here are some treat bags I made ... I got the idea for these little favors while I was looking at apartments this summer. The property manager gave me this adorable little favor that housed a few pieces of candy. All it was was a strip of cardstock; nothing too fancy! I kept it to use as a template for my own treat bags some day. They're so cute and simple, you can use them for any occasion or holiday!

So here's how to make your own treat bags:

1. Cut a piece of 12x12 cardstock into 3 strips measuring 10 7/8"long  x 3 1/4" wide. 
2. Take each strip and score it at three points along the strip. Starting from the bottom and moving up, here is where to score: 3 7/8", 5 3/4", and 9 5/8". 
3. Fold the three areas that you scored; a triangle-shaped box should be formed.
4. Trim the top edge of the strip with your favorite pair of fun scissors or punch. 
5. Pinch the bag together at the top, then punch a hole.
6. Cut some alternating cardstock into 2 1/4" squares. Stamp the squares then apply to the front of your bag with glue. 
7. Punch a hole into a little plastic bag and fill it with candy. Thread some ribbon through the back of the bag, then the bag of candy, the front of the bag, and then the flap. Tie your ribbon and attach a tag if you want!

Supplies: 

Bazzil cardstock 
Sizzix Scallop Tag die
Stamp-shaped scissors
Ranger embossing powder
Doodle Twine

Wednesday, October 26, 2011

Happy Halloween!

I've been so busy working on Christmas (and even Thanksgiving) projects, that I completely forgot about Halloween! I couldn't let myself go to sleep last night without making SOMETHING orange/black/purple/green. So here's my spooky contribution to All Hallow's Eve ...


I first painted this cheap little frame black. Then, I cut a piece of cardstock to a 5x7 shape. I made some tags to resemble the Tim Holtz Artful Dwellings dies, then embellished them with stamps and bling. The black film strip in the back is actually a Bazzil die cut that I had no idea what to do with up until now. 

Anyhoo, I hope you all have a safe and fun Halloween! If you have any leftover candy, I will gladly take it off your hands. ;)

Supplies:

Graphic 45 - Le Cirque paper
Bo Bunny - purple dot paper
Jenni Bowlin - Halloween paper
Bazzil Just The Edge
Peeled Paint, Brushed Concord, Rusty Hinge, and Black Soot distress ink
Doodle twine
Crackle Accents

Sunday, September 18, 2011

Autumn-theme card & tag

Ever since I saw these Autumn and Thanksgiving-inspired embossing folders, I just knew I had to have them! Paper Mermaids was so kind to save me their last set. :)

For the card below, I decided on using some brown and tan paper, along with some orange polka dot paper from Jenni Bowlin's Halloween line. I think these colors have fall all over them! I embossed my tan paper with the Leaf Garland folder, then tore the edges and inked the paper.


For my tag, I grabbed one of my Sizzix Scallop Tag die cuts, then ran it through my Big Shot using the Pumpkin Vine folder. I then inked the edges with Walnut Stain, Rusty Hinge, and Scattered Straw Distress Inks. For the sentiment, I used my trusty Martha Stewart custom stamp kit. :)


Supplies:

Sizzix Texture Fades "Thankful" embossing folders
Sizzix Scallop Tag die
Tim Holtz distress inks