Today on the Graphic 45 blog, we're highlighting a couple different projects using Graphic 45's regular tag album. My project below is featured, along with an amazing mini album made by Annette Green!
G45 is giving away a fun Place In Time prize pack this week! To win it, just leave a comment on Graphic 45's blog or Facebook page. Thanks so much for looking and have a great day!


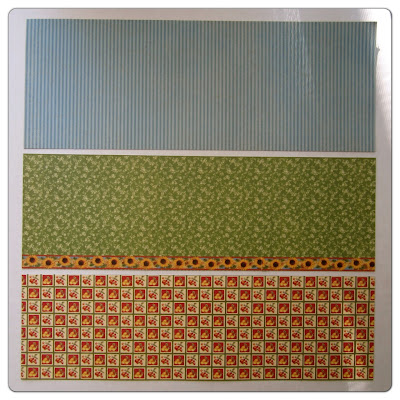
Step 2. Take two regular tags and trace onto the blue strip. (Note: If you want, you do not need to trace the hole in your paper; the hole is actually covered up by chipboard embellishments later on.) Then, adhere these to both tags on the side of the tag where the metal grommet is flattest. Trim corners.


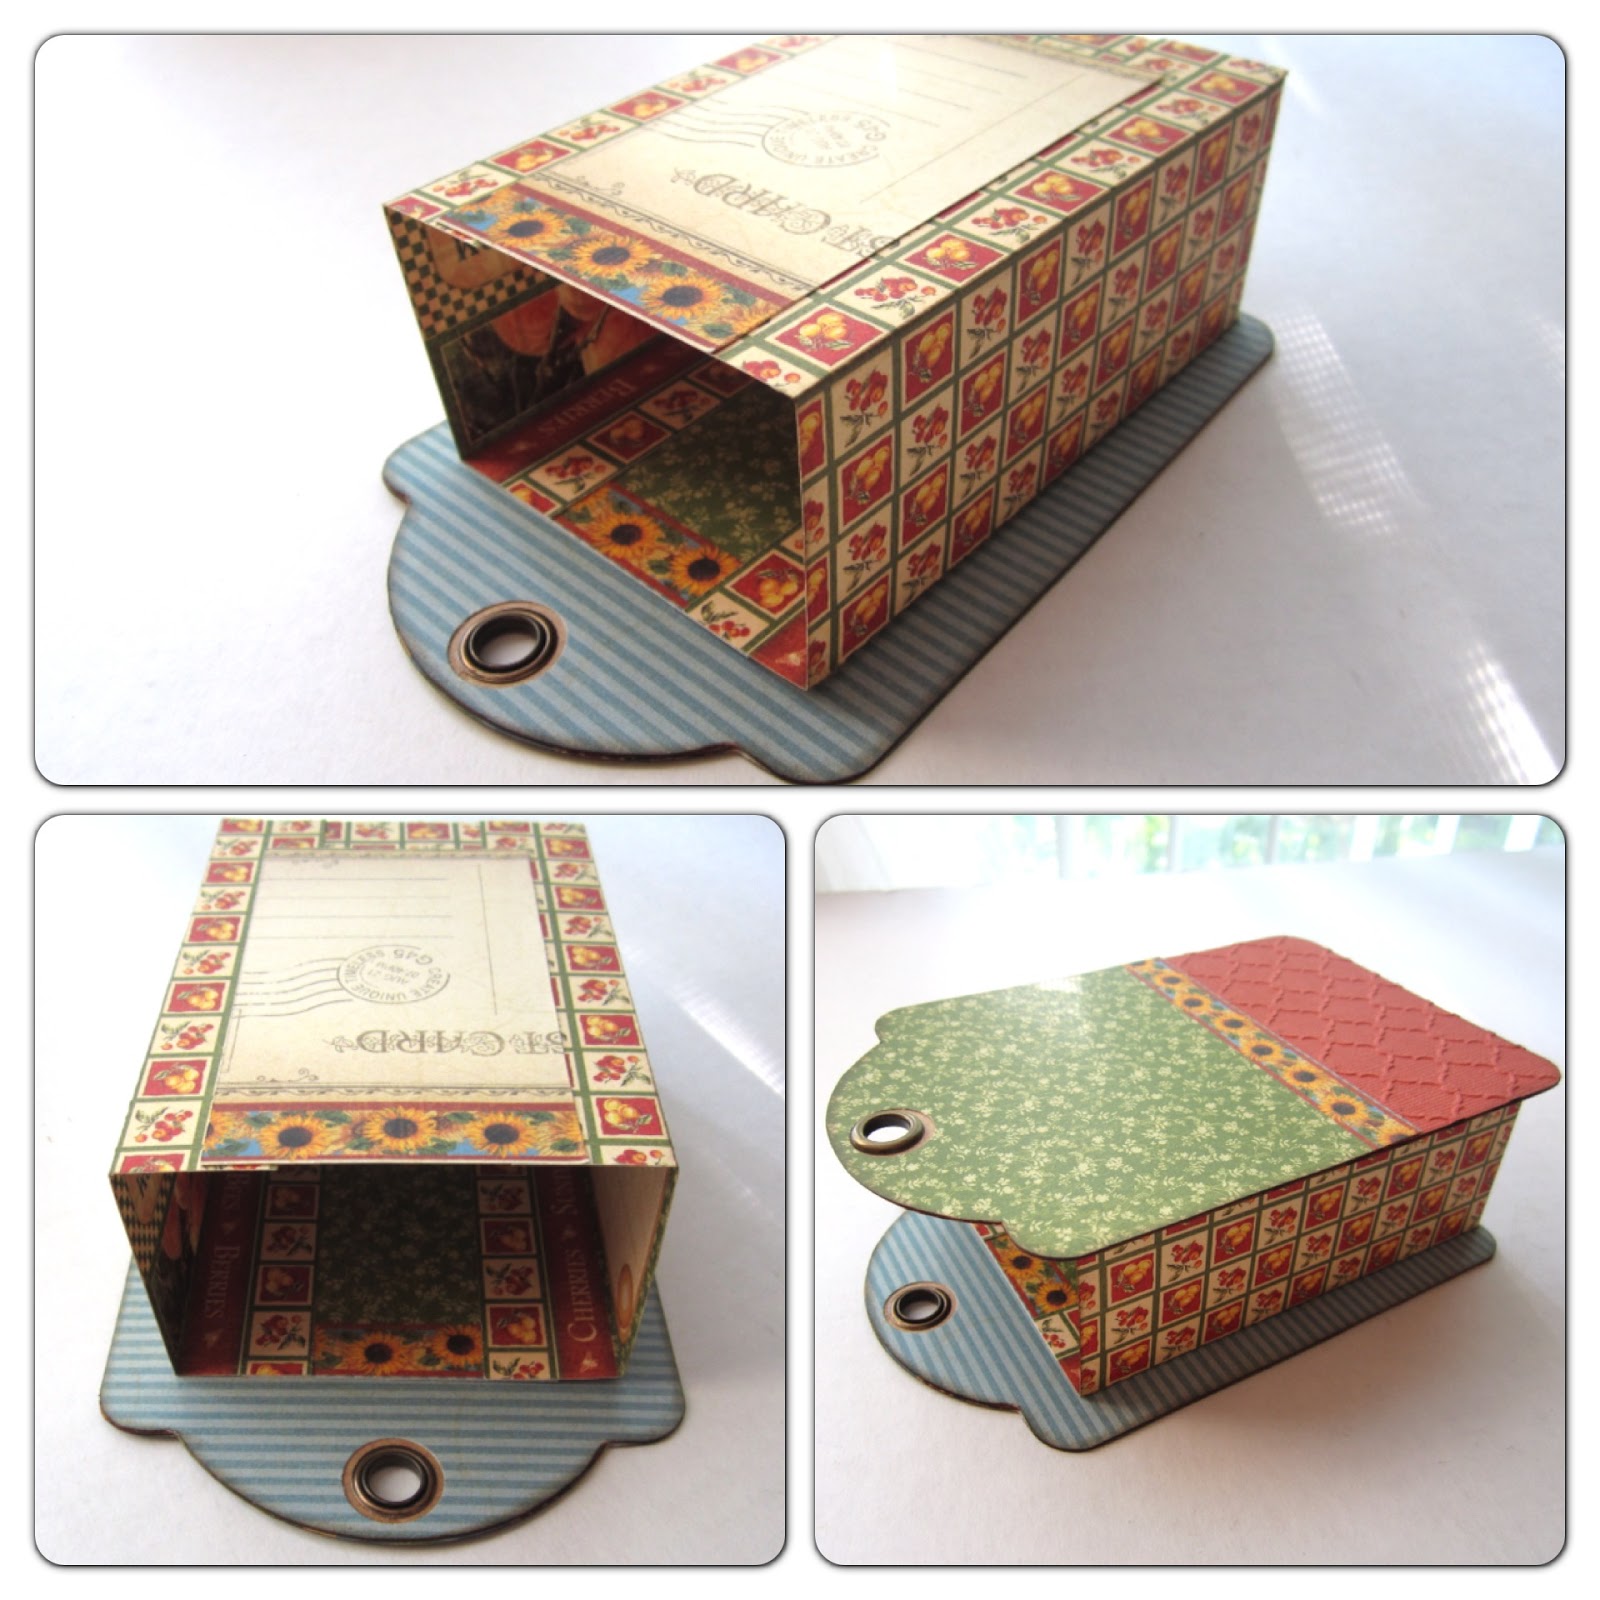
Step 6. Take your box and place glue on one side. Adhere it to the blue side of one of your tags, ensure that it is centered and flush to the bottom. Then adhere the other tag.


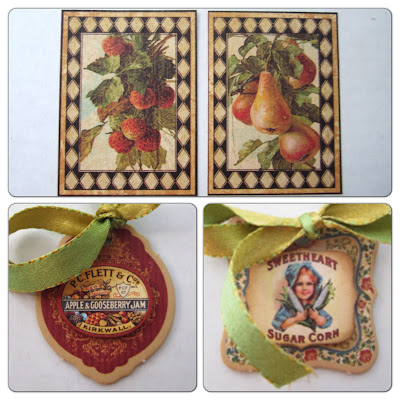
Step 8. Locate the red and blue French Country chipboard 2 tags. Fussy cut the August Cutouts patterns per photos and adhere with foam dots. Tie 12” of green ribbon through each tag. Cut out images from Bon Appetit paper.
Step 9. Arrange pieces per photo and adhere. Use foam dots to add dimension.


Step 11. Cut out the following border pattern from your 8” x 8” August Cutouts. Adhere the ends to the sides of your bag. Adhere ornate metal keyholes. Locate 2 chipboard button staples and adhere behind chipboard tags.

Step 12. Spritz bag with Glimmer Mist in a sheer color like Diamonds. Apply Copper Stickles to center of sunflowers.

G45 is giving away a fun Place In Time prize pack this week! To win it, just leave a comment on Graphic 45's blog or Facebook page. Thanks so much for looking and have a great day!


Supplies
Graphic 45 Paper
8” x 8” Place In Time August Cutouts
12” x 12” Place In Time August Cutouts
12” x 12” French Country Sunflower
12” x 12” French Country Bon Appetit
Graphic 45 Embellishments
Regular Tag Album
Ornate Metal Key Holes
Chipboard Buttons Staples
French Country Chipboard 2
Additional Products
Core’dinations Tuscan Sunset
Lifestyle Crafts Whimsy embossing folder
(2) 12” long green & yellow May Arts ribbon
Glimmer Mist – Diamond
Stickles – Copper
Tutorial
Overall note: Ink all edges with Walnut Stain Distress Ink before adhering.


Step 3. Take the green strip and cut the following: (2) 2 1/8” wide and (2) 3 7/8” wide. Locate your Tuscan Sunset paper and trim off (2) 3 7/8” wide x 2.25” tall pieces. Emboss with your favorite embossing folder. Adhere these to the bottom of the other side of your tag. Adhere the 3 7/8” wide green pieces to your tags, above the Tuscan Sunset paper. Trim corners.

Step 4. Place your gingham pattern strip length-wise in front of you. Score it 4.5” from the left and 4.5” from the right. Then, score the top (2) rows of gingham lines and the bottom (2) rows. Make cuts in the top and bottom middle of the paper and fold to make a “U” shape.

Step 5. Take your 2 1/8” wide green pieces and adhere over the gingham paper per the photos, making sure that the green side faces inwards. You just made the little box for the inside of your bag!

Step 6. Take your box and place glue on one side. Adhere it to the blue side of one of your tags, ensure that it is centered and flush to the bottom. Then adhere the other tag.
Step 7. Cut out the following pieces from your 8” x 8” August Cutouts paper. Set aside. Fussy cut about 7 – 8 large sunflowers and leaves from the Sunflower paper.

Step 8. Locate the red and blue French Country chipboard 2 tags. Fussy cut the August Cutouts patterns per photos and adhere with foam dots. Tie 12” of green ribbon through each tag. Cut out images from Bon Appetit paper.

Step 9. Arrange pieces per photo and adhere. Use foam dots to add dimension.

Step 10. Arrange pieces per photo and adhere. Use foam dots to add dimension.

Step 11. Cut out the following border pattern from your 8” x 8” August Cutouts. Adhere the ends to the sides of your bag. Adhere ornate metal keyholes. Locate 2 chipboard button staples and adhere behind chipboard tags.

Step 12. Spritz bag with Glimmer Mist in a sheer color like Diamonds. Apply Copper Stickles to center of sunflowers.

5 comments:
Darling, darling, darling Maria. I'm enjoying this creative and inspirational ride with G45 and you :)
Paula
Super, super cute!
What a gorgeous gift bag! Fabulously unique idea, Maria.
Beautiful tag bag! What a great idea and love the papers! Hugs, Sandra
Absolutely gorgeous project. Thanks for the tutorial too. Karen.x
Post a Comment